Manual Pole Saw Assembly: 5 Steps for a Secure Build
How do you assemble a manual pole saw?
Assembling a manual pole saw is usually quick, but it’s worth slowing down to ensure every joint is tight and the blade is oriented correctly. A properly assembled pole saw cuts cleaner, feels steadier overhead, and reduces the chance of parts loosening mid-cut.
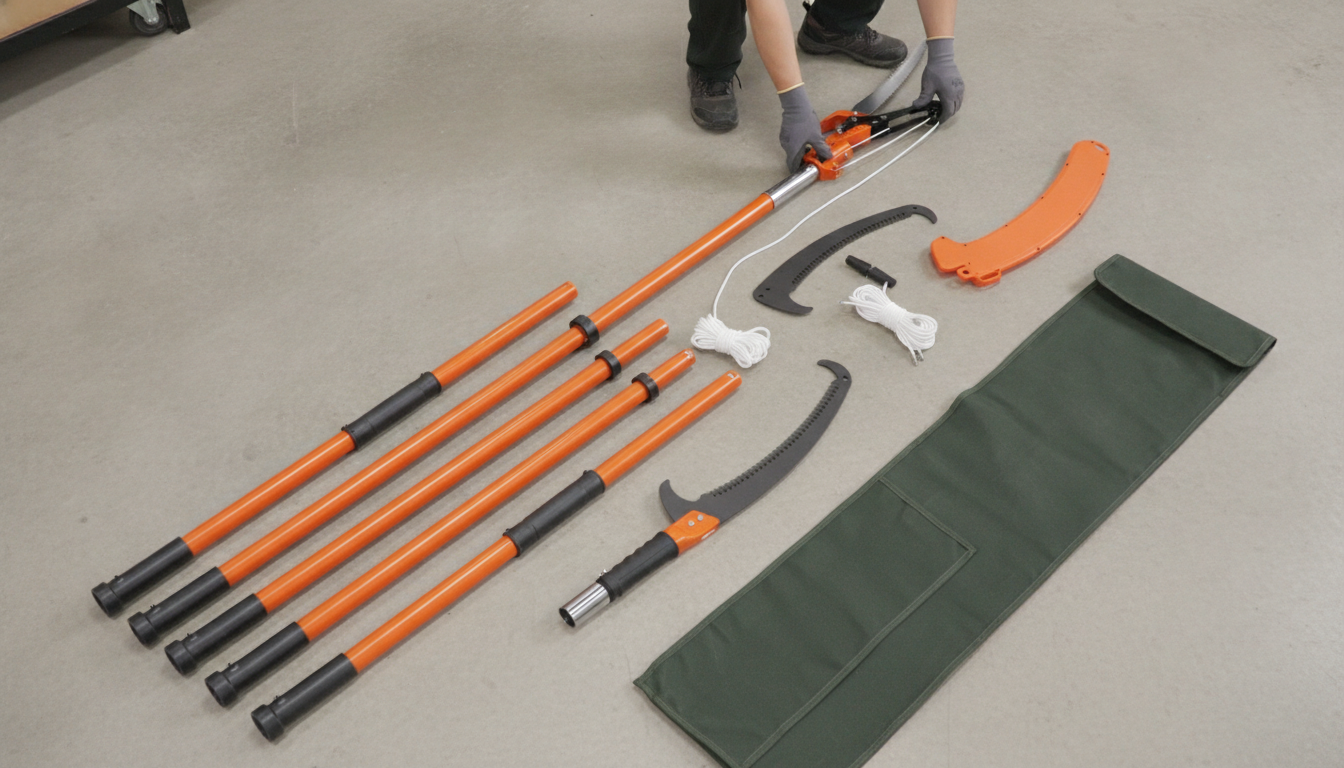
1) Lay out parts and check the hardware
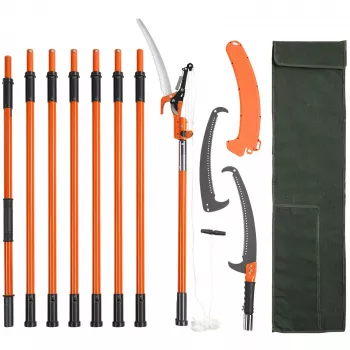
Unpack the pole sections, saw head (blade), any lopper attachment (if included), the rope/pull cord (if applicable), bolts/pins, and the wrench or hex key. Confirm the blade is straight, the mounting holes line up, and no fasteners are missing before you start.
2) Assemble the pole sections from the base up
Start with the handle/base section and add extensions one at a time. For threaded poles, screw sections together until snug, then give a final firm hand-tighten. For pin-and-hole or cam-lock styles, insert the male end fully, align the holes, and lock the pin or clamp completely. Keep each connection straight to avoid cross-threading or a crooked build.
3) Mount the saw head and set the blade direction
Attach the saw head to the top pole section using the included bolt(s) or locking pin. Position the blade so the cutting teeth face the direction you’ll pull (most manual pole saws cut on the pull stroke). Tighten fasteners so the head doesn’t twist when you apply force.
4) Install and route the rope (if your model has a lopper)
If there’s a lopper, attach it per the manufacturer’s bracket, then route the rope through the guide eyelets so it runs cleanly down the pole without crossing. Tie the rope to the handle grip or pulley point as directed, and test-pull to verify the lopper opens and closes smoothly.
5) Do a quick safety check before pruning
Extend the pole to your intended length and gently flex it to confirm all joints stay tight. Re-check blade bolts, confirm locks are engaged, and make sure the rope isn’t rubbing against sharp edges. For practical tips on safe overhead pruning and reaching tall limbs, see this guide to pruning tall trees with a 27-foot manual pole saw.
FAQ
How do you use a manual pole saw safely?
Keep both hands on the pole, stand clear of the drop zone, and cut with controlled pull strokes so the branch falls predictably. Avoid working near power lines, and stop if the pole or head begins to loosen.














Leave a comment